How to Make a Floor Plan for Renovation
Learn how to make a floor plan for renovation by recording existing conditions, separating constraints, comparing options, and tracking decisions.
 Make Floor Plan Team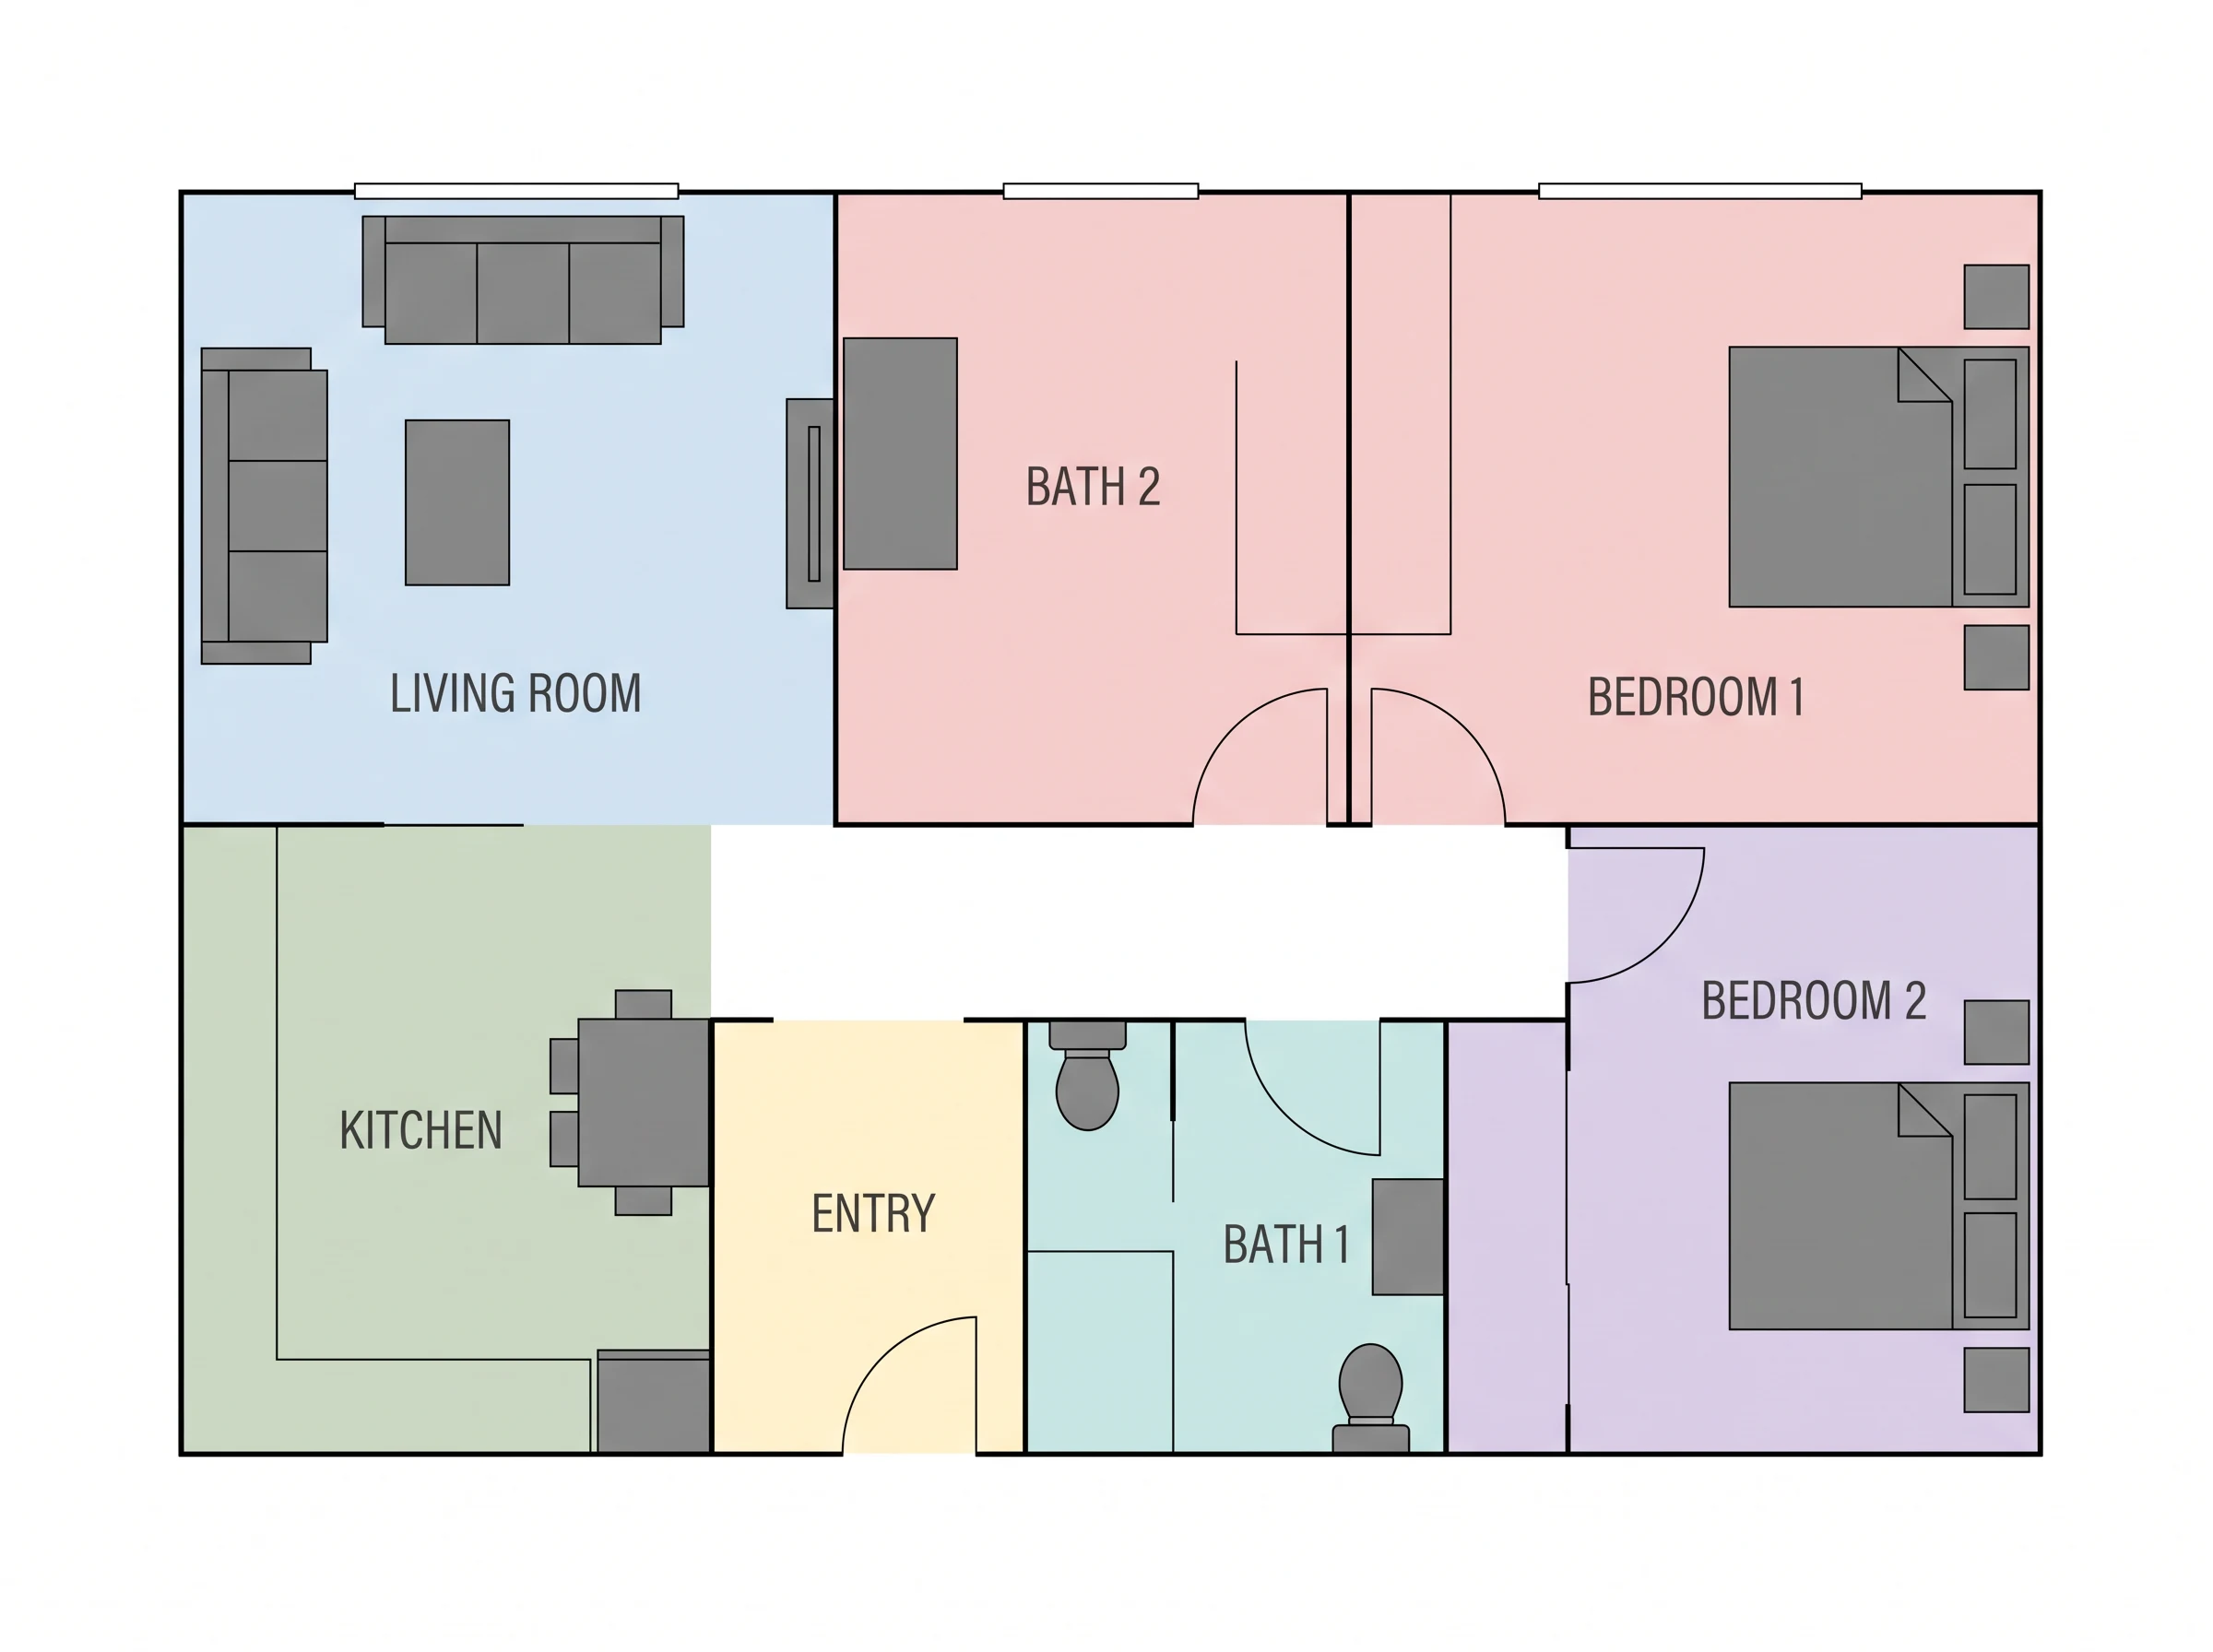
To make a floor plan for renovation, start by documenting the current space before drawing proposed changes. A useful renovation plan helps people make decisions before work begins by separating the existing condition, the proposed change, and the questions that still require professional verification.
The goal is not to make one polished image as quickly as possible. The goal is to create a reliable sequence of plans that explains what is there, what may change, and why.
Create an existing-condition plan first
Before exploring a new layout, document the current space. Show the complete footprint and label the rooms as they exist today.
Record what you can verify:
- Exterior and interior wall positions
- Doors, windows, stairs, and level changes
- Kitchens, bathrooms, and utility areas
- Columns, shafts, fireplaces, and built-in elements
- Important overall and room dimensions
- The source and date of each measurement
Photographs are useful supporting evidence, but they do not replace a plan. A photograph shows appearance; a plan shows relationships.
If you are starting with an old scan or hand drawing, use the sketch cleanup workflow to prepare a readable base.
Separate constraints from preferences
Create two lists before drawing options.
Constraints may include structural walls, columns, stairs, plumbing stacks, electrical service, mechanical equipment, fire separation, required exits, accessibility, property boundaries, and local regulations.
Preferences may include an open kitchen, more storage, a home office, a larger bathroom, better daylight, improved privacy, or a shorter route between daily activities.
Preferences can be compared visually. Constraints must be confirmed by the appropriate professional or authority. A concept floor plan should never imply that a structural or code-sensitive change has already been approved.
Write a short renovation brief
A useful brief explains the problem, not just the requested object.
Instead of “add an island,” write: “Create more preparation space and seating for two without narrowing the route between the entrance and balcony.”
Include:
- Who uses the space
- The daily activities that need support
- Items that must remain
- Storage requirements
- Privacy and accessibility needs
- Budget or phasing constraints
- The decisions this plan needs to test
This brief can also become the basis for an AI floor plan prompt when you want to generate early alternatives.
Compare options using the same base plan
Keep the footprint and confirmed fixed elements consistent across every option. Change only the parts needed to test the idea.
For example:
- Option A: minimal partition changes
- Option B: stronger open-plan connection
- Option C: preserves more storage and privacy
Use the same labels, orientation, and image size. A fair comparison becomes difficult when one option has detailed furniture and another is only a wall diagram.
Review circulation and clearances
Trace normal daily routes through every option:
- Entrance to storage and living area
- Kitchen to dining
- Bedrooms to bathroom
- Laundry to storage or exterior access
- Emergency and accessible routes where relevant
Check door swings, furniture clearances, narrow passages, dead ends, and conflicts between private and public spaces. Use furniture sparingly to test scale rather than decorate the proposal.
The floor plan review checklist covers circulation, privacy, furniture, openings, and unresolved assumptions.
Track decisions and assumptions on the plan
Every proposed plan should include a small revision note. Record:
- Version and date
- Main changes
- Known dimensions
- Estimated dimensions
- Items awaiting survey or professional review
- Decisions approved by the project team
This prevents a presentation image from becoming an accidental source of truth. It also makes feedback more specific: “keep the Option B kitchen, but restore the Option A storage” is actionable.
Use 3D only after the layout is coherent
A 3D preview can help homeowners and stakeholders understand furniture, volume, and openness. Generate it after the 2D layout has passed a basic circulation review.
Keep the 2D plan beside the 3D image. Materials and lighting should not distract from unresolved wall positions or clearances. If you need a visual version, use the floor plan to 3D workflow after the layout direction is accepted.
Know when the concept plan must stop
Before demolition, purchasing, permit submission, or construction, replace assumptions with verified information. Depending on the project, that may require a measured survey, structural review, engineering, building code analysis, accessibility review, or licensed design documentation.
An online floor plan is excellent for organizing ideas and conversations. It is not a substitute for the documents and approvals required to build safely.
To explore an early layout from a written brief, start with the AI floor plan generator. To revise an existing drawing while keeping the source visible, use the online floor plan editor.