How to Draw a Floor Plan Online Free
Learn how to draw a floor plan online for free, from room outline and walls to doors, windows, furniture, labels, and export checks.
 Make Floor Plan Team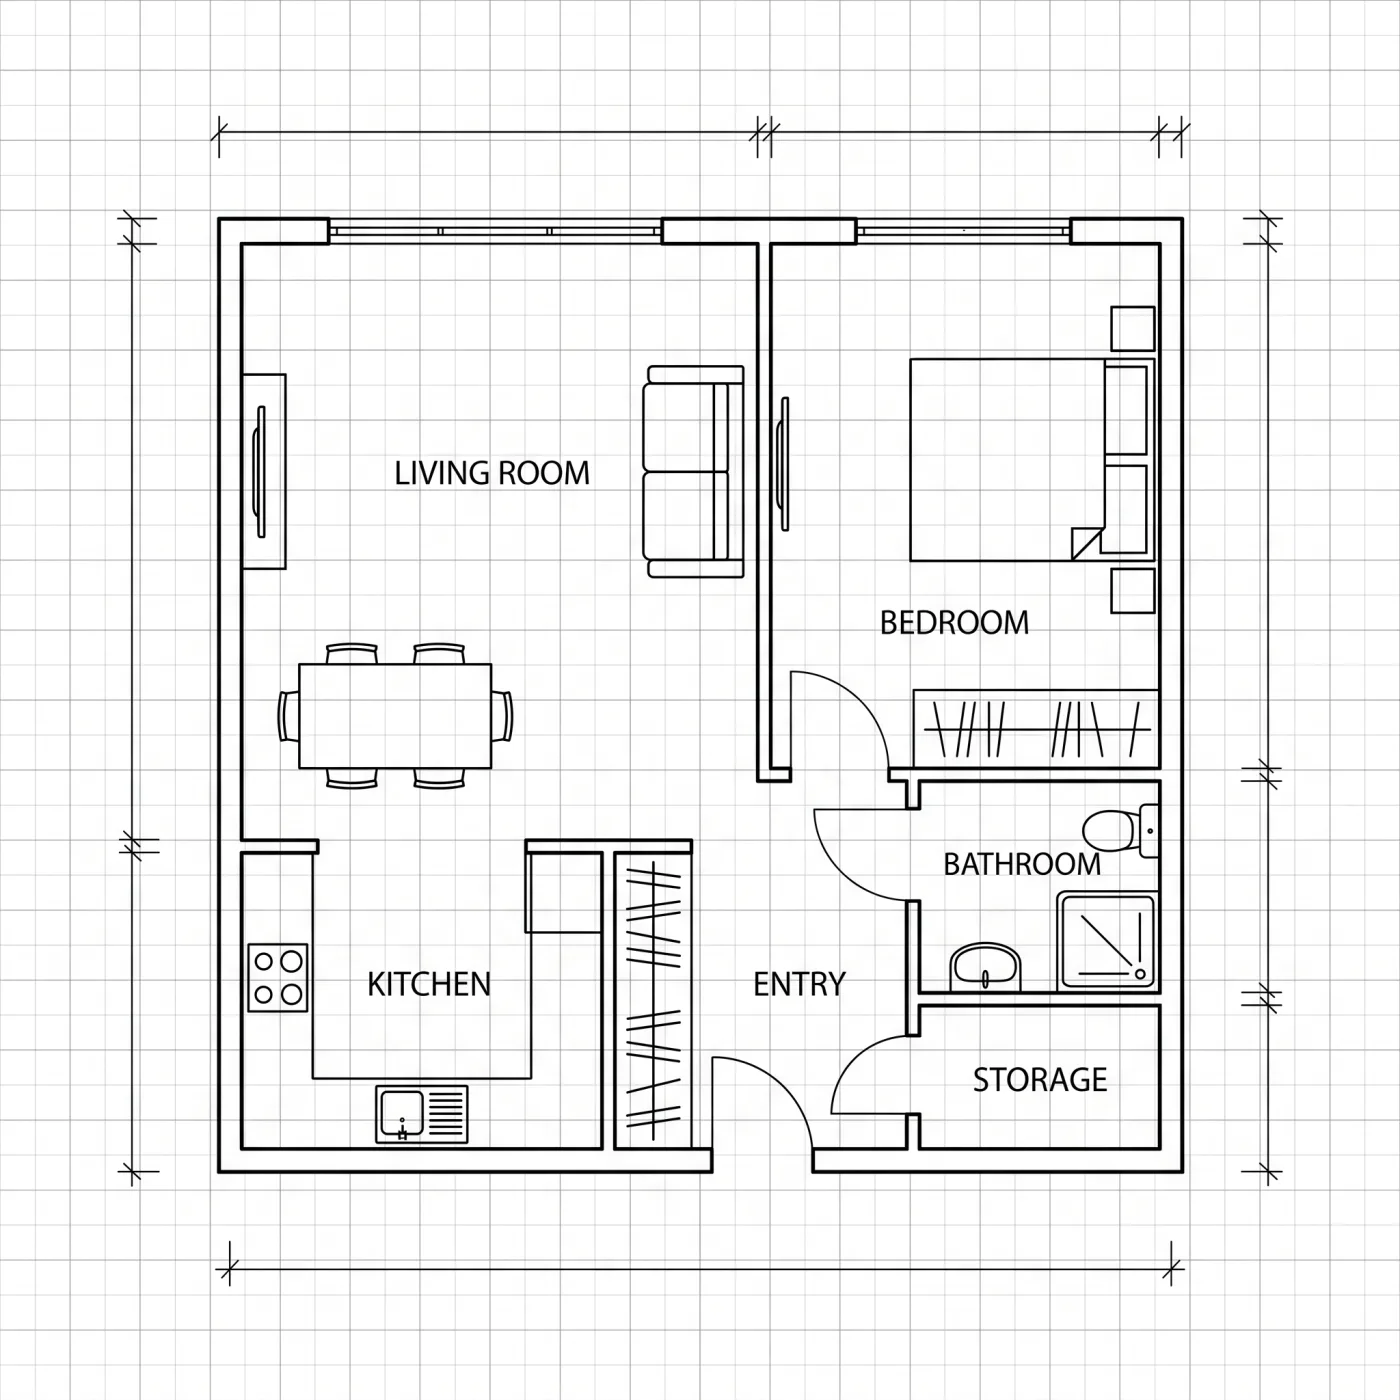
Drawing a floor plan online is easiest when you treat the canvas like a planning worksheet, not a finished architectural document. The goal is to make the shape of the space readable, test the room arrangement, and share a clean layout that other people can understand.
This guide walks through a practical workflow for creating a free online floor plan before you pay for drafting, remodeling, staging, or presentation work.
Start With the Purpose of the Plan
Before placing walls, decide what the plan needs to answer. A renovation sketch, rental layout, furniture plan, and real estate listing do not need the same level of detail.
Common goals include:
- Checking whether a room layout makes sense
- Comparing furniture placement options
- Explaining a renovation idea to a contractor
- Sharing a simple plan with a buyer, tenant, or teammate
- Rebuilding a rough sketch into a cleaner visual
Write one sentence that describes the job. For example: "Create a simple two-bedroom apartment plan for furniture planning and early renovation discussion." That sentence keeps the drawing focused.
Collect the Basic Measurements
You can draw a useful plan with approximate measurements, but you should still collect the numbers that control the layout.
Start with:
- Overall width and depth
- Room widths and depths where known
- Door and window positions
- Fixed stairs, columns, plumbing walls, or exterior walls
- Ceiling-height changes if they affect the layout
If you do not have full measurements yet, mark uncertain values as approximate. A concept plan can still be useful as long as everyone knows which dimensions need confirmation.
Draw the Outside Boundary First
The outer shape controls everything that follows. Draw the exterior boundary or the boundary of the area you are planning before adding internal rooms.
Keep the first pass simple:
- Use straight wall segments
- Avoid tiny offsets unless they matter
- Keep the outline closed
- Add the entrance location early
Once the boundary is in place, the rest of the plan becomes a problem of dividing space instead of guessing the full layout from scratch.
Add Interior Walls and Room Zones
Next, divide the footprint into major rooms. Do not start with furniture. Rooms, circulation, and privacy come first.
A useful order is:
- Place fixed service areas such as bathrooms, kitchens, stairs, or laundry.
- Add bedrooms, offices, or private rooms.
- Shape shared spaces such as living and dining areas.
- Check the path from the entrance to each main room.
Try to keep circulation obvious. Long narrow corridors often waste area, but unclear circulation is worse because people cannot understand how the plan works.
Place Doors and Windows
Doors and windows change whether a plan is actually usable. Add them before furniture so you can see where movement, light, and wall space are available.
For doors, check:
- The door does not block a main walking path
- The swing does not collide with furniture or another door
- Bedrooms and bathrooms have enough privacy
- Closets and storage are still reachable
For windows, check:
- Living areas and bedrooms get reasonable natural light
- Furniture does not cover important openings
- Window placement supports the intended room use
Even if your online floor plan is approximate, these checks make it far easier to discuss.
Add Furniture as a Reality Check
Furniture is not just decoration. It tells you whether the room dimensions work.
Use standard furniture first:
- Bed and wardrobe in each bedroom
- Sofa, coffee table, and media wall in the living area
- Dining table with chair clearance
- Desk and chair where work space is needed
- Kitchen counters or island if relevant
If a room cannot fit ordinary furniture without blocking a door or walkway, the plan needs revision. It is better to find that problem in a free online drawing than after construction planning has started.
Label Rooms and Mark Assumptions
Labels make the plan understandable to someone who did not draw it. Use simple room names: Bedroom 1, Bathroom, Kitchen, Living, Dining, Laundry, Storage.
Add short notes for uncertain items:
- "Approximate wall length"
- "Window position to verify"
- "Existing plumbing wall"
- "Furniture not to scale"
- "Opening size unknown"
These notes prevent a concept drawing from being mistaken for a measured construction plan.
Export and Review Before Sharing
Before exporting your plan, zoom out and check whether it can be understood in ten seconds.
Review:
- Is the outer boundary closed?
- Are all rooms labeled?
- Are doors and windows visible?
- Can people follow the entrance path?
- Does furniture block any main route?
- Are uncertain measurements clearly marked?
Export a PNG when the plan is ready to share in messages, documents, listing drafts, or early design notes.
When to Use AI Instead of Manual Drawing
Manual drawing is best when you already know the space and need object-level control. AI generation is better when you want a fast first concept from a written brief.
Use the AI floor plan generator when you want to compare layout ideas quickly. Use the floor plan creator when you need to place walls, doors, windows, furniture, shapes, and labels yourself.
Both workflows are useful. A common approach is to generate a rough direction with AI, then rebuild the parts you like in a manual canvas for clearer sharing.
Final Checklist
Before you call the plan done, confirm:
- The goal of the plan is clear
- The outer boundary is readable
- Rooms are placed in a logical order
- Doors and windows are included
- Furniture proves that rooms are usable
- Notes mark anything approximate
- The export is clean enough to share
For a hands-on canvas, open the floor plan creator and start with the outside boundary first.